LED Strip Lights: Buying and Installation Guide for Every Room
LED strip lights are the highest-impact-per-dollar upgrade in home lighting — the difference between a room that's lit and a room that glows. They're also the product people most often buy wrong: the wrong type for the effect they want, or installed in a way that peels off the wall by March. This guide covers both halves.
RGB vs RGBIC: The One Spec That Matters
RGB strips show one color at a time — the whole strip changes together. RGBIC strips have independent control segments: multiple colors at once, chasing effects, gradients that flow along the strip. For TV backlighting, shelving accents, and gaming setups, RGBIC is worth the difference — the 16.4ft RGBIC strip is the version that produces the effects you've seen in photos. Simpler ambient wash lighting is fine with the standard smart strip at $20.
Where Strips Look Best (Ranked by Impact)
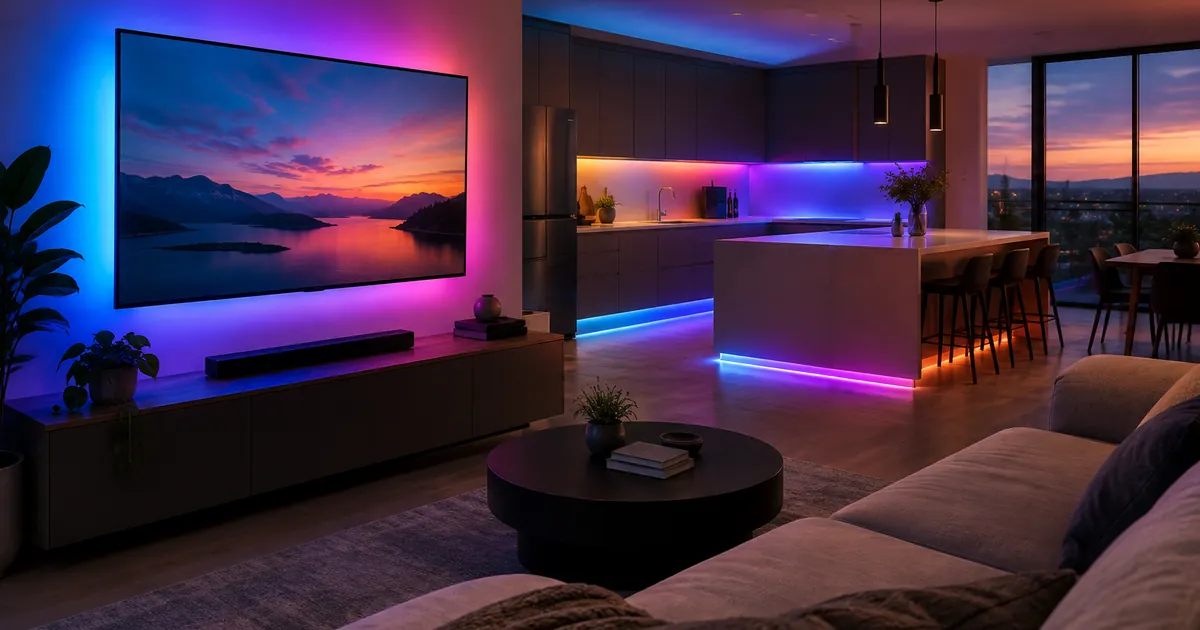
- Behind the TV: reduces eye strain in dark rooms and makes the screen feel bigger. The classic first installation.
- Under kitchen cabinets: task lighting that doubles as ambiance — arguably the most useful placement.
- Behind desks and monitors: the gaming setup standard.
- Along headboards and shelving: hotel-suite energy for $35.
- Stair edges and hallways: night-path lighting on motion schedules.
Installation: The Five Rules
- Clean the surface properly. Isopropyl alcohol, then dry. Adhesive failures are 90% dust and grease, not bad tape.
- Warm the adhesive. A hair dryer's warm setting while pressing the strip down makes the bond dramatically stronger — especially in winter.
- Plan the cut points. The RGBIC strip is cuttable at marked points — measure twice. On RGBIC, cutting in the wrong place kills everything past the cut.
- Corner smartly. Use the included connectors for 90° turns instead of bending the strip, which breaks traces over time.
- Hide the power brick. The strip is pretty; the transformer is not. Route the cable behind furniture before sticking anything down.
Pairing with your ecosystem
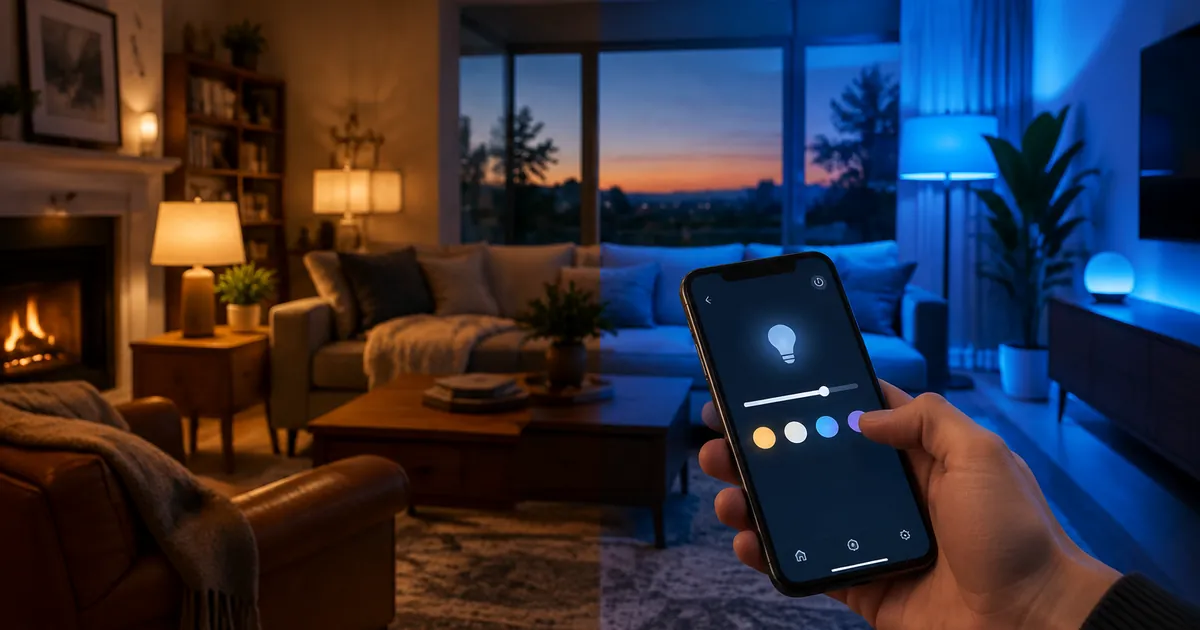
Both strips connect to 2.4GHz Wi-Fi and work with Alexa and Google Home out of the box — group them with your smart bulbs so one command sets the whole room's mood. Scenes are where strips shine: "Movie night" dims the bulbs and sets the strip to deep blue in one command.
Mistakes to Avoid
- Buying by length alone: check brightness (lumens) and control type first — a long, dim strip disappoints.
- Stretching across doors/windows: strips don't bridge gaps; measure each run separately.
- Outdoor use with indoor strips: keep indoor-rated strips inside; moisture kills them.
- Skipping the cleaning step: see rule #1. It's the whole game.
Scenes and Syncing: The Payoff Layer
Strips earn their keep through scenes — and they combine beautifully with the rest of the catalog. Three setups worth building in week one:
- Movie night: strip to deep blue at 40%, lamps off, TV backlight on. One command.
- Focus mode: desk strip to cool white, room bulbs to 70% — measurably better than overhead lighting for evening work.
- Sunset wind-down: strips shift warm automatically at dusk; the room dims with the day without anyone touching a switch.
RGBIC's segmented control is what makes these scenes look expensive — gradients and movement that flat RGB strips can't produce. It's the difference between lighting and production design.
Frequently Asked Questions
Can I cut the strip shorter?
Yes — both strips cut at marked points. RGBIC requires care: only at designated cut lines, or the segments past the cut stop working.
Do they stick to textured walls?
Poorly. Use mounting clips on textured surfaces, or mount to a thin painted board first.
How much power do they draw?
A 16.4ft strip at full brightness draws about 20–30W — a few cents per evening, less with schedules.
Troubleshooting the Two Common Complaints
"My strip won't pair." Nine times out of ten it's the 2.4GHz band — many routers default phones to 5GHz, and the strip only speaks 2.4GHz. Temporarily split the bands or move the phone closer to the router during setup, and pairing takes under a minute. "The adhesive failed." Surface prep again: isopropyl alcohol, fully dry, warm the adhesive with a hair dryer while pressing for 30 seconds. For stubborn surfaces, the mounting clips included with the strips solve it permanently.
Room-by-Room Recommendations
Living room: the 16.4ft RGBIC strip behind the TV — the highest-impact single placement in the house. Kitchen: the $20 smart strip under cabinets, set to warm white for cooking and color for entertaining. Bedroom: a short strip behind the headboard at 10% warm white — better than any lamp for late-night reading. Home office/gaming: RGBIC behind the monitor with music-sync effects; the segment control makes it the most dynamic setup in the home. Total cost to transform all four: less than one fixture from a lighting store.